College of
LIBERAL ARTS AND
SCIENCES
DISCOVER YOUR PASSION

The College of Liberal Arts and Sciences has been the intellectual heart of Villanova since the University’s founding in 1842. With more than 40 academic departments and programs offering undergraduate and graduate degrees as well as doctoral programs in Philosophy and Theology, CLAS provides a rich, rigorous and diverse educational experience.
Faculty in the College are teacher-scholars. They are thought leaders in their fields, pursuing research at the forefront of knowledge creation, and are equally committed to excellence in teaching—integrating their research into the classroom and inviting students to partner with them on studies and publications.
The College’s multidisciplinary curriculum encourages creativity and innovation. Students develop critical thinking and strong communication skills, preparing them to be ethical leaders with a passion for making a positive impact on the world.
EXPLORE OUR PROGRAMS
BACHELOR'S
MASTER'S
DOCTORAL
CERTIFICATE
MINOR
CURRICULUM


COLLEGE NEWS

Villanova Researcher Authors Comprehensive Look at Large Outdoor Gatherings and Severe Weather Risk
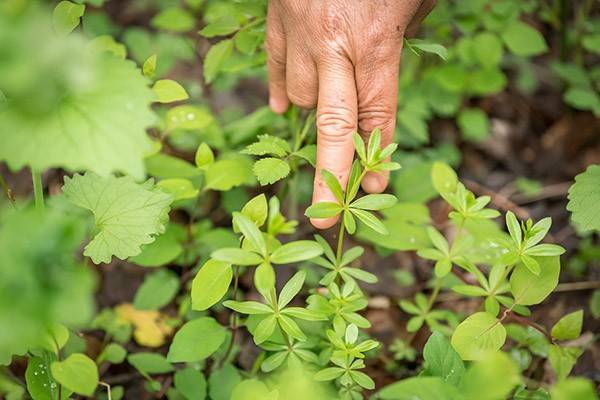
Stephen Strader, PhD, associate professor of Geography and the Environment, analyzed more than 475 large outdoor gatherings in the United States, ranking them for greatest risk of lightning and tornado events.

8 Villanovans from CLAS Awarded Prestigious Fulbright Awards for 2026-27
The College celebrates seven students and alumni who have been selected to receive Fulbright U.S. Student Grants for the 2026–27 academic year, and an additional awardee of the competitive Fulbright English Teaching Flagship Award to Taiwan.

As the Search for the Universe’s Mysteries Expands, One Villanova Astronomer Turns Homeward
For Assistant Professor of Astrophysics and Planetary Science Teddy Kareta, PhD, and his students, the solar system provides limitless, one-of-a-kind potential to study objects and processes that we can see, feel and that affect our daily lives on Earth.

Villanova Latin American Studies Professor Receives Fulbright U.S. Scholar Award
Raúl Diego Rivera Hernández, PhD, director of the Latin American Studies program and associate professor in the Department of Spanish, has been awarded a prestigious 2026-2027 Fulbright U.S. Scholar grant by the U.S. Department of State and the J. William Fulbright Foreign Scholarship Board.
AT A GLANCE
60+
GRADUATE STUDENTS PRESENT AT ACADEMIC CONFERENCES EACH YEAR
92%
OF THE CLASS OF 2025
SECURED OPPORTUNITIES
16
STUDENTS OR ALUMNI EARN FULBRIGHT SCHOLARSHIPS FOR 2025 – 2026
83%
OF STUDENTS FROM THE CLASS OF 2025 SEEKING A RESEARCH EXPERIENCE PARTICIPATED IN AT LEAST ONE
86%
OF STUDENTS FROM THE CLASS OF 2025 SEEKING AN INTERNSHIP PARTICIPATED IN AT LEAST ONE
88%
of students from the class of 2025 seeking a service experience participated in at least one